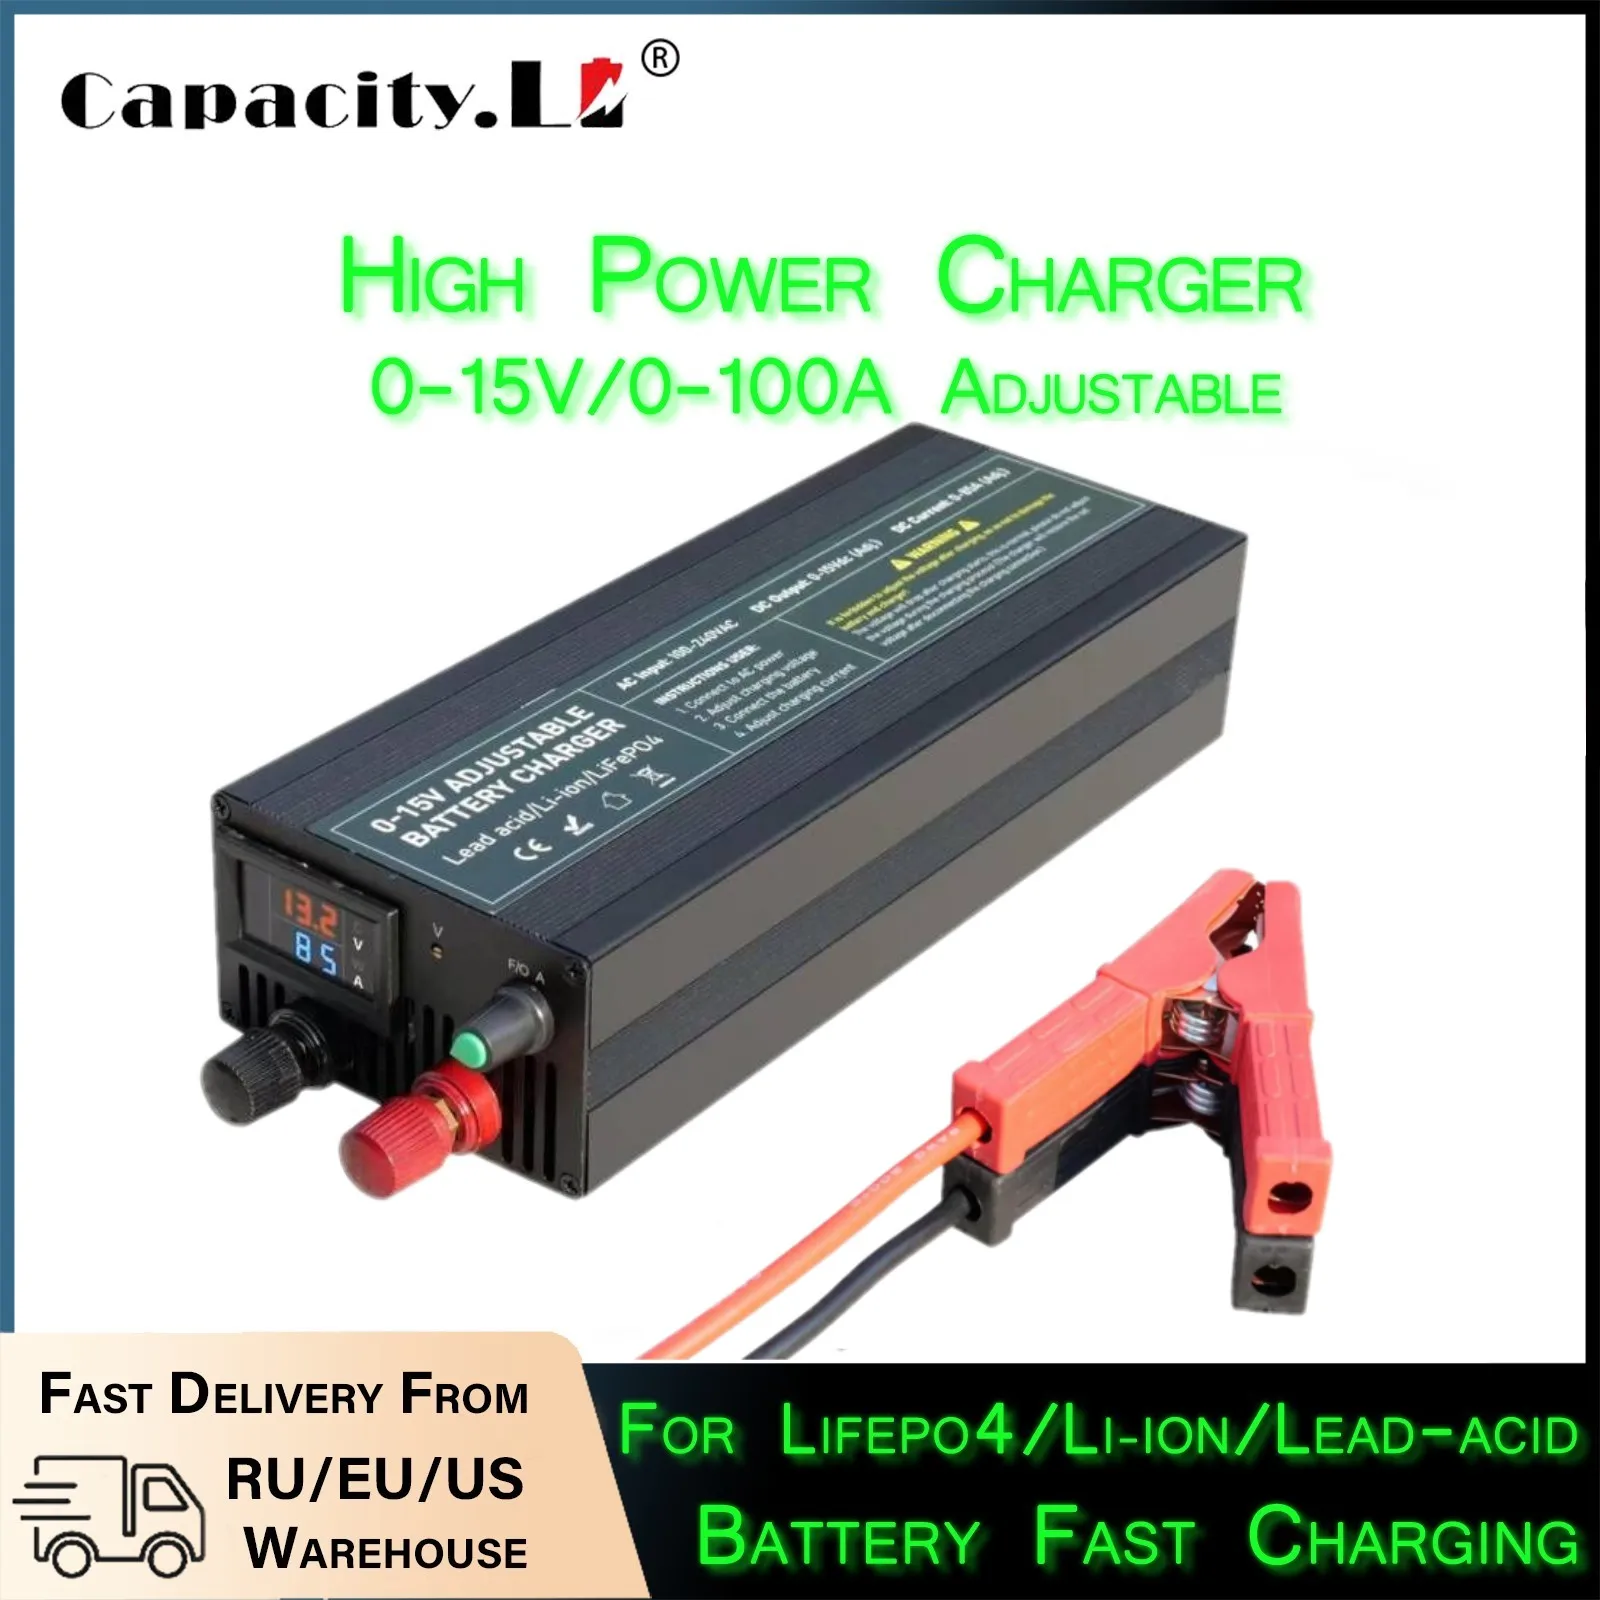
14.6V 60A/85A/100A High Current Lifepo4 Charger for 12V Battery Pack Fast Charging Current & Voltage Adjustable Chargers
Price range: $216.66 through $317.10
Description
- Data Transmission: No
- Package: Yes
- Use: Standard Battery
- Model Number: KT01
- Display screen: Yes
- Intelligent Charge: Yes
- Quick charge: Yes
- Type: Electric,SOLAR
- Brand Name: capacity.Li
- Origin: Mainland China
- Certification: CE
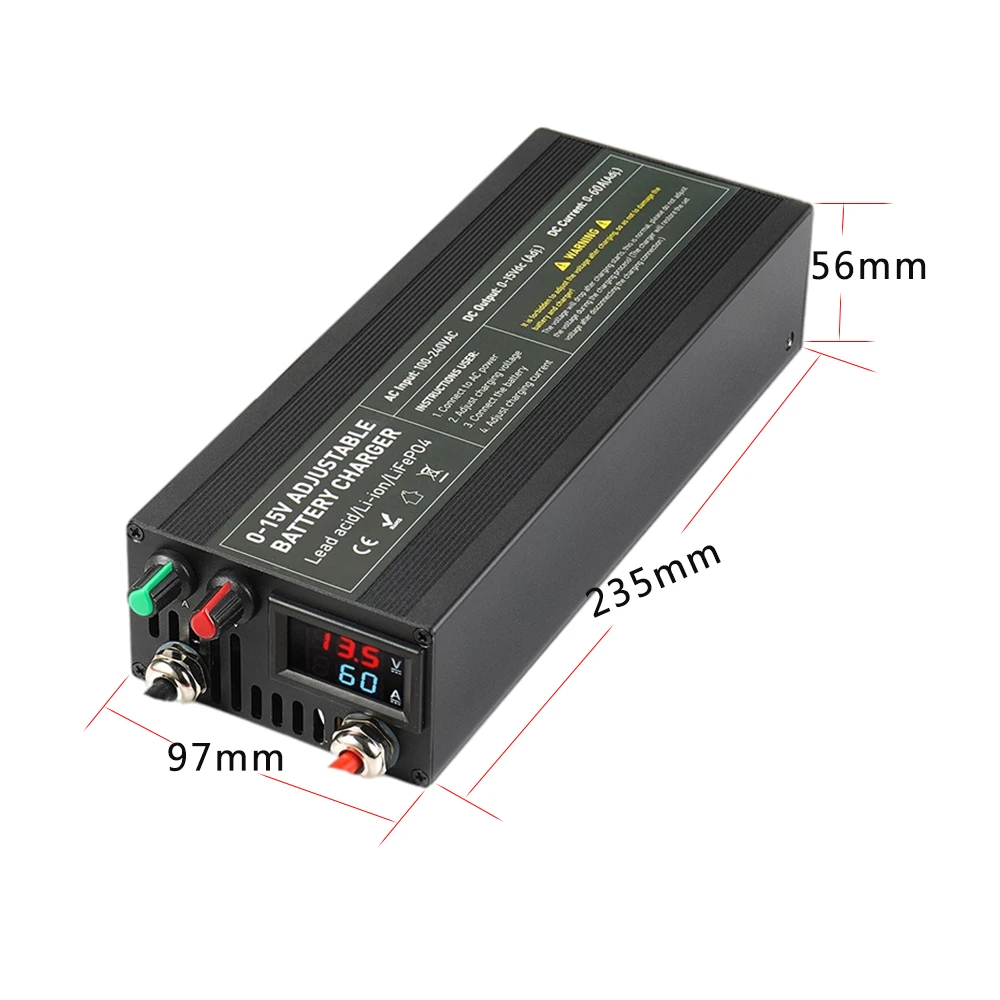
- Rated voltage :: 100-240v
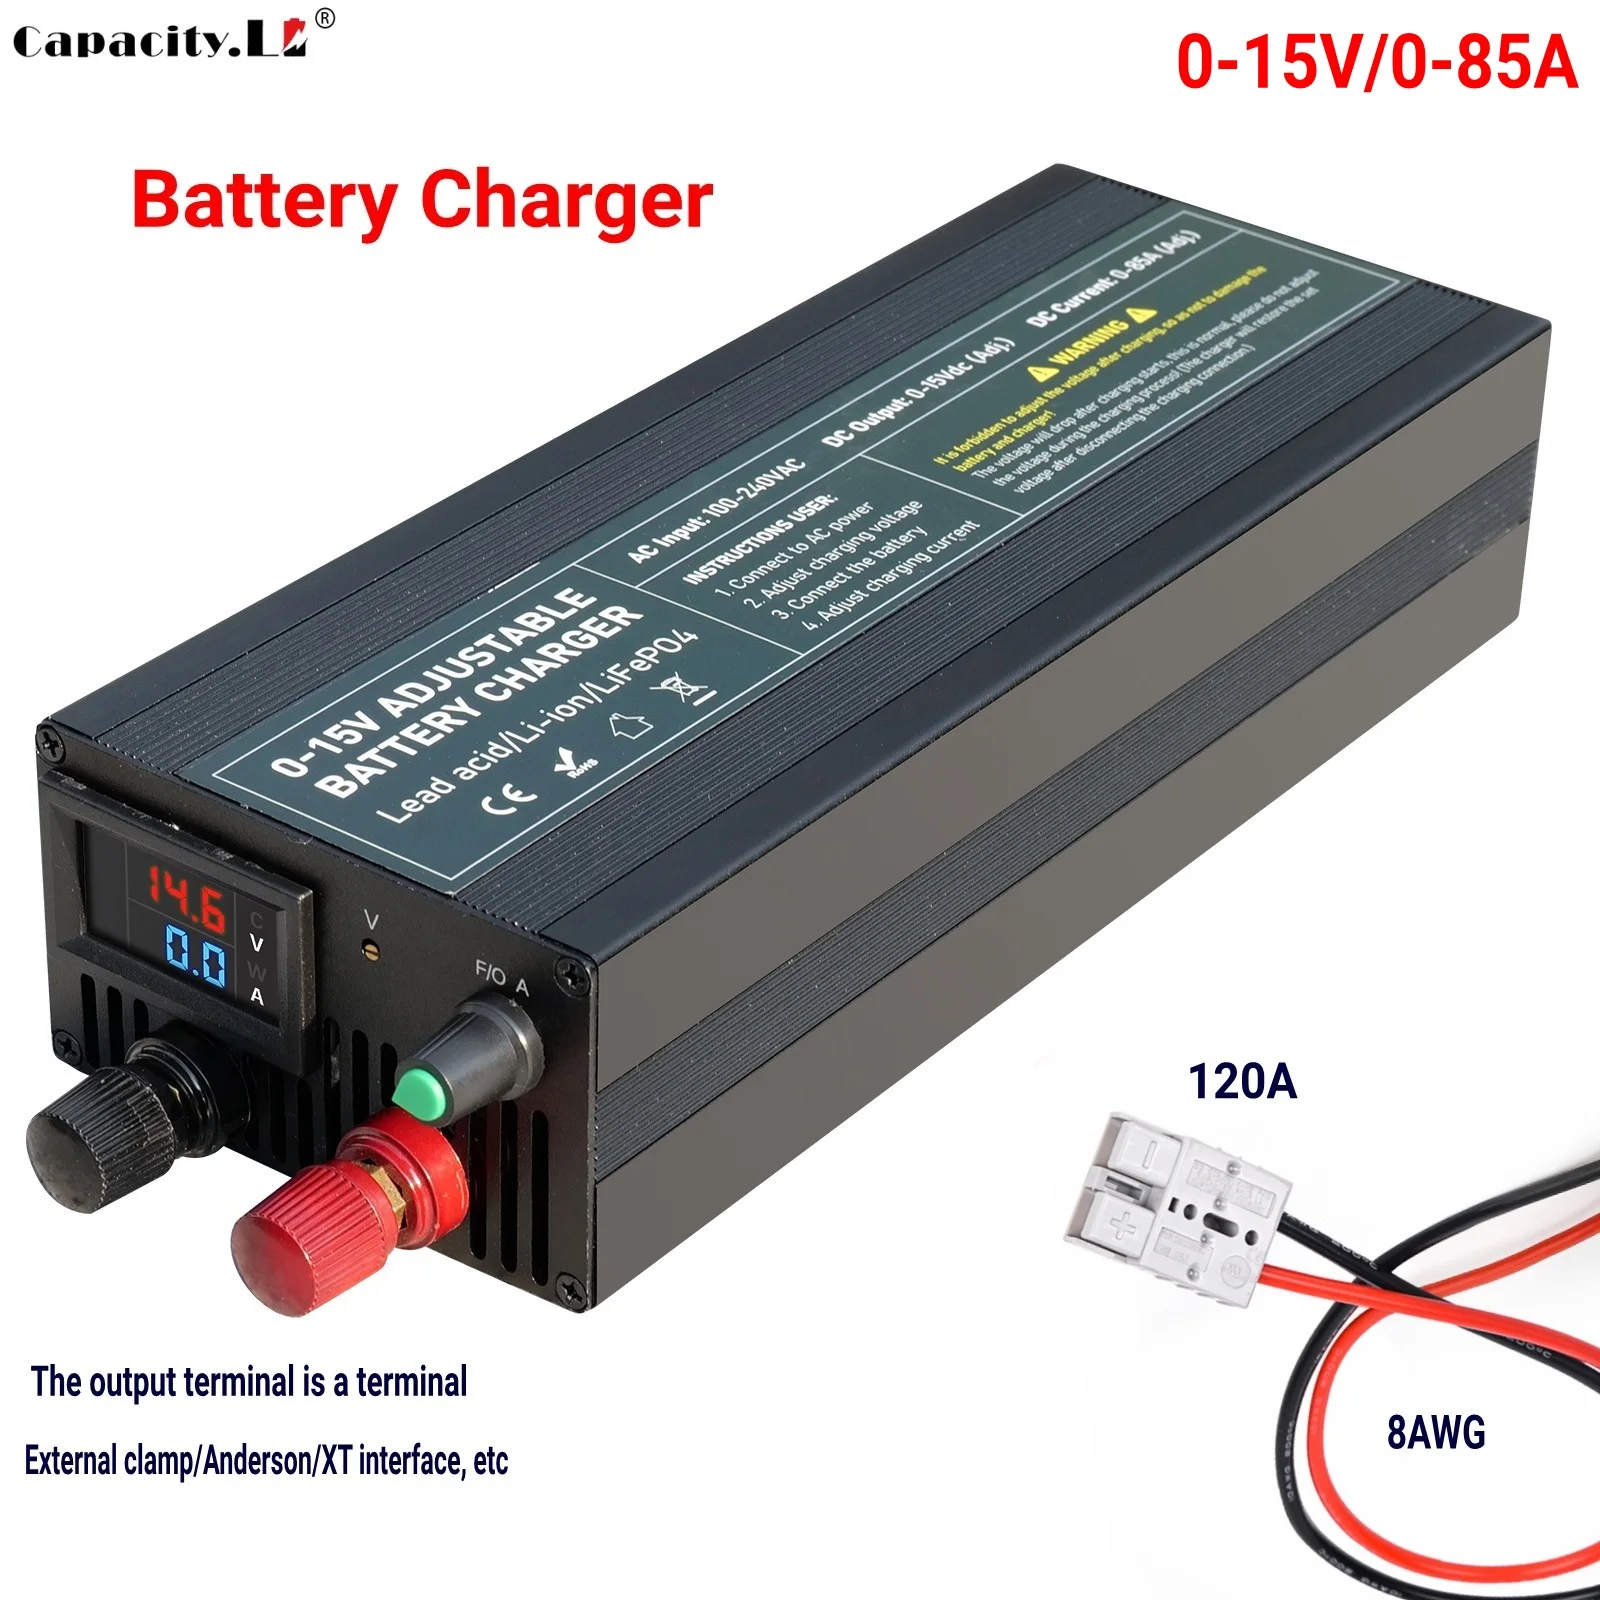
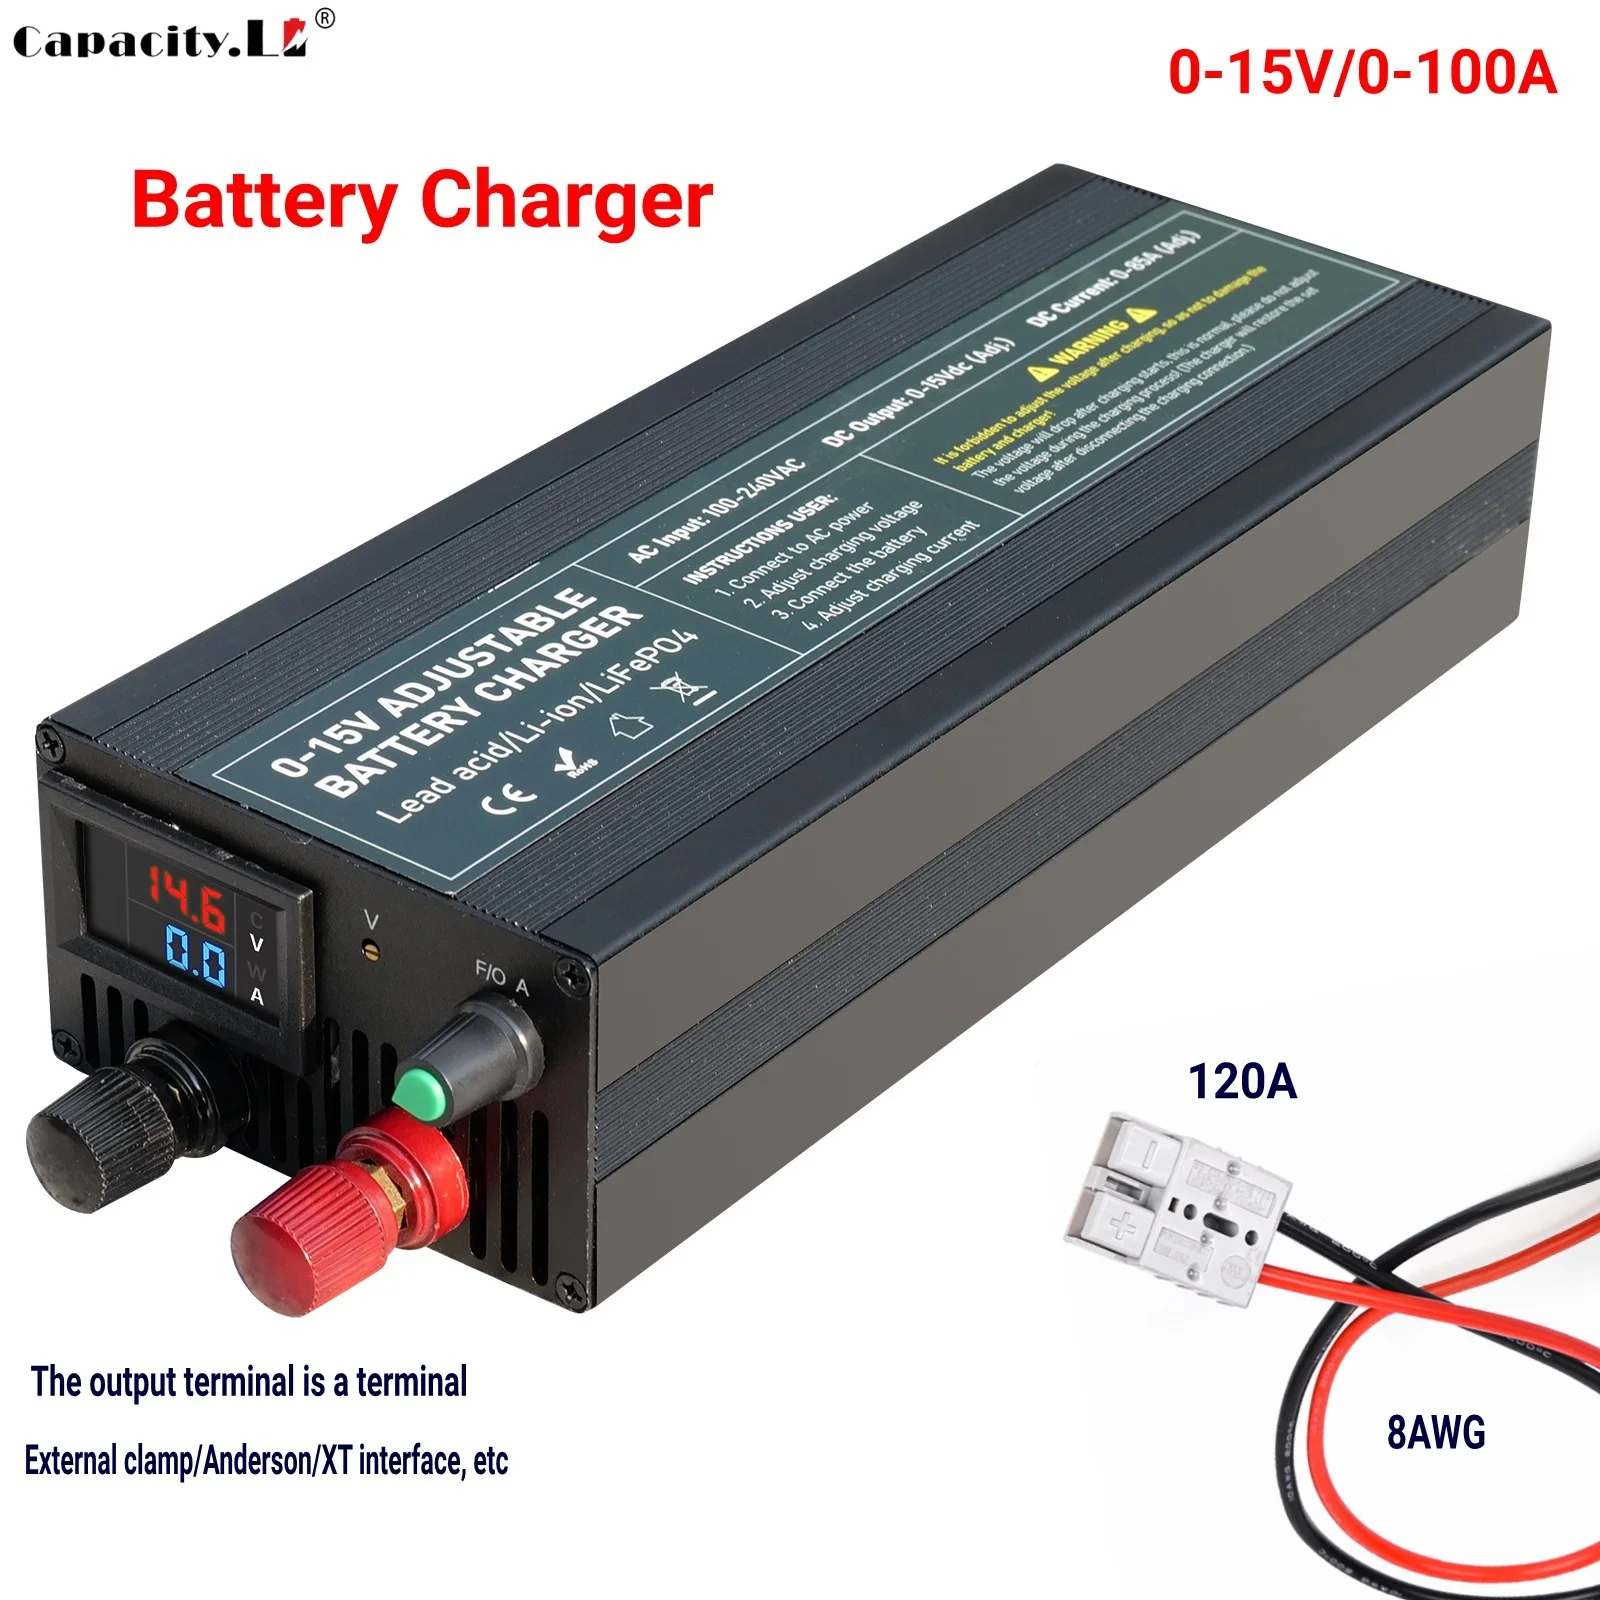
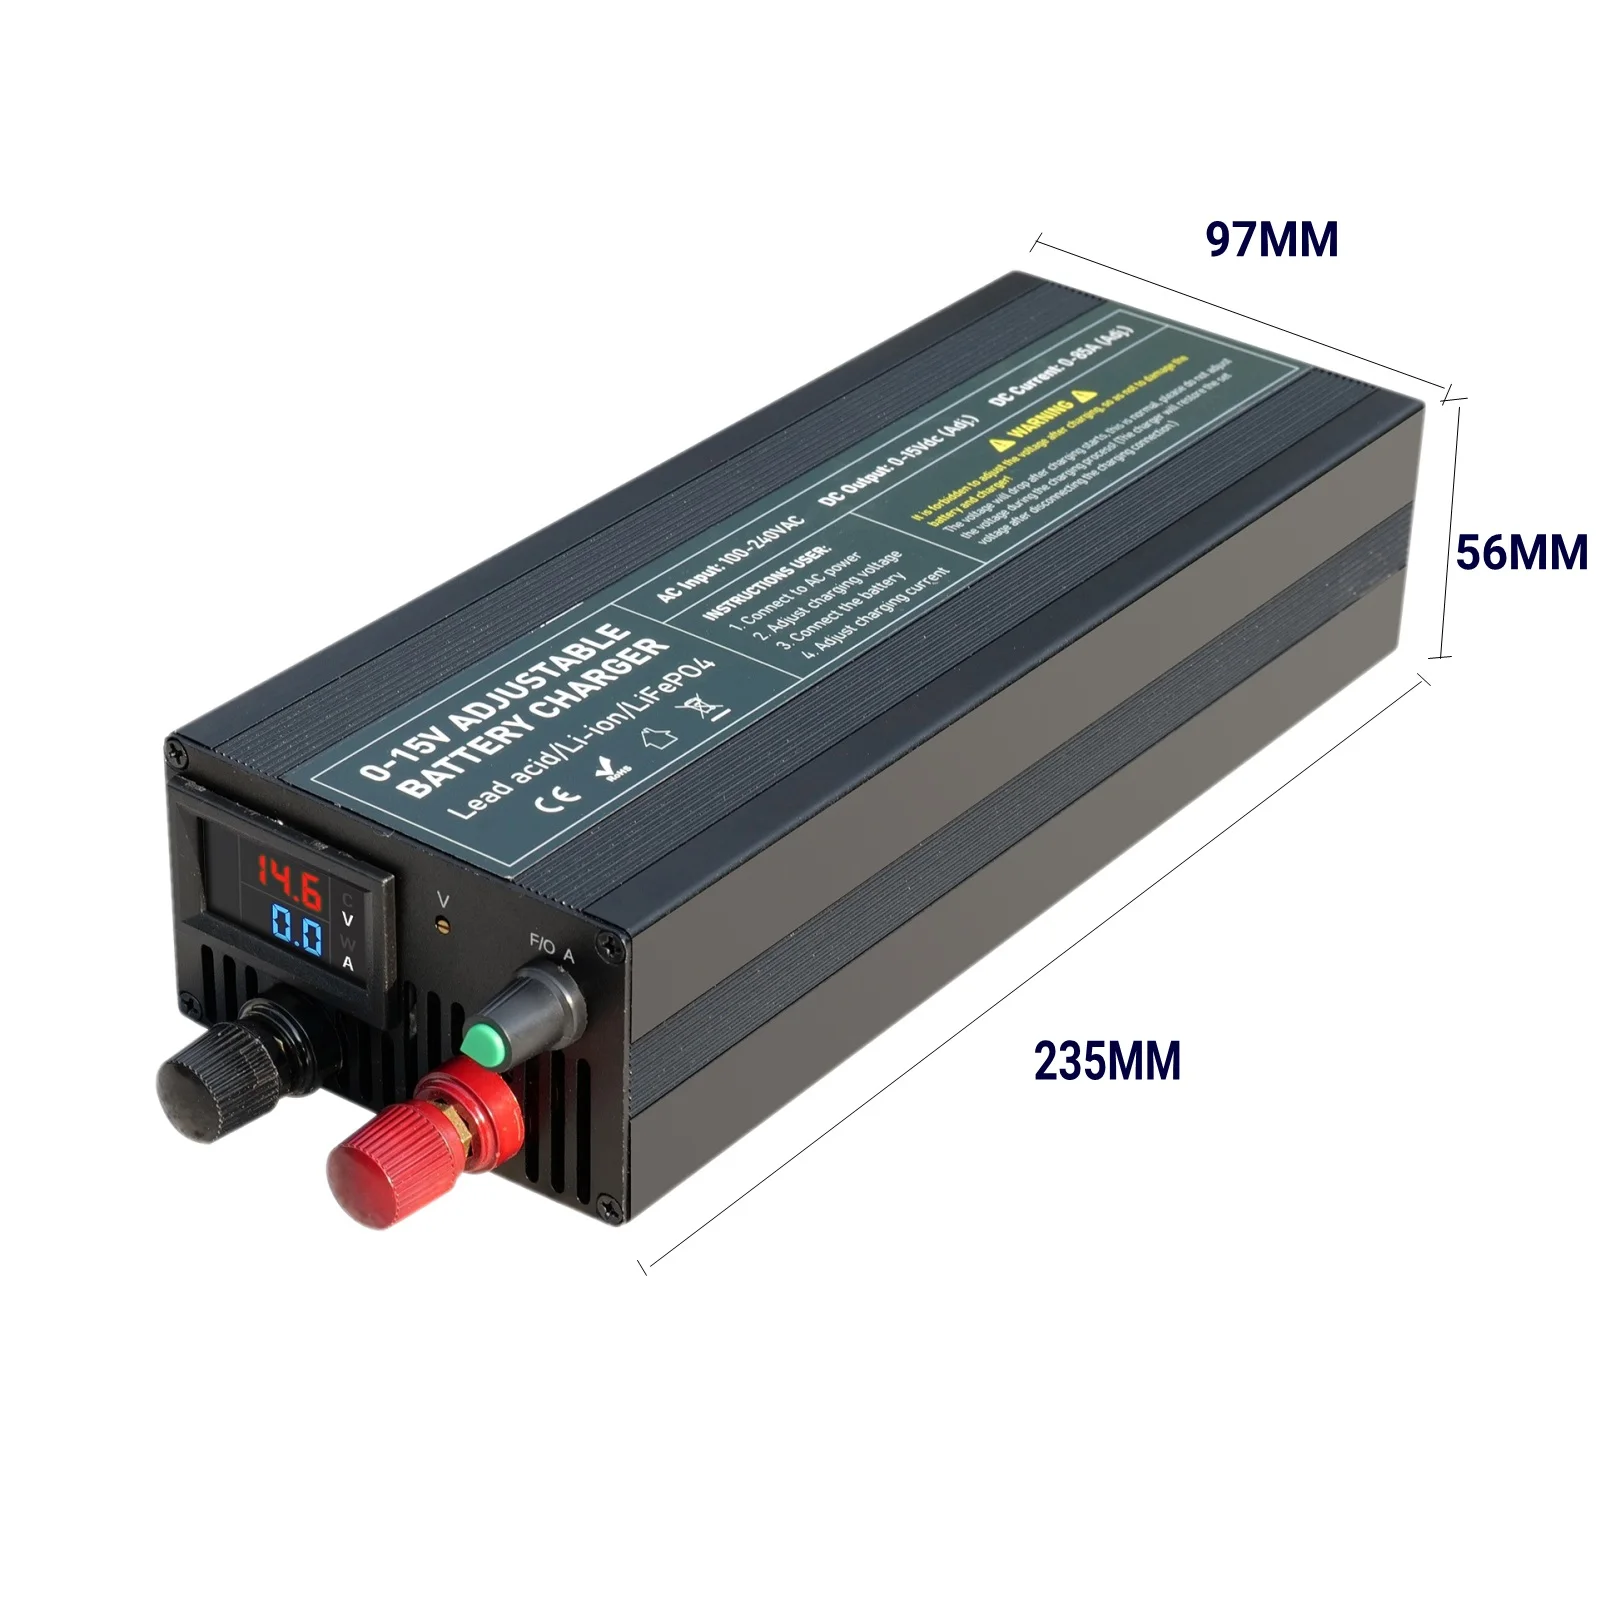
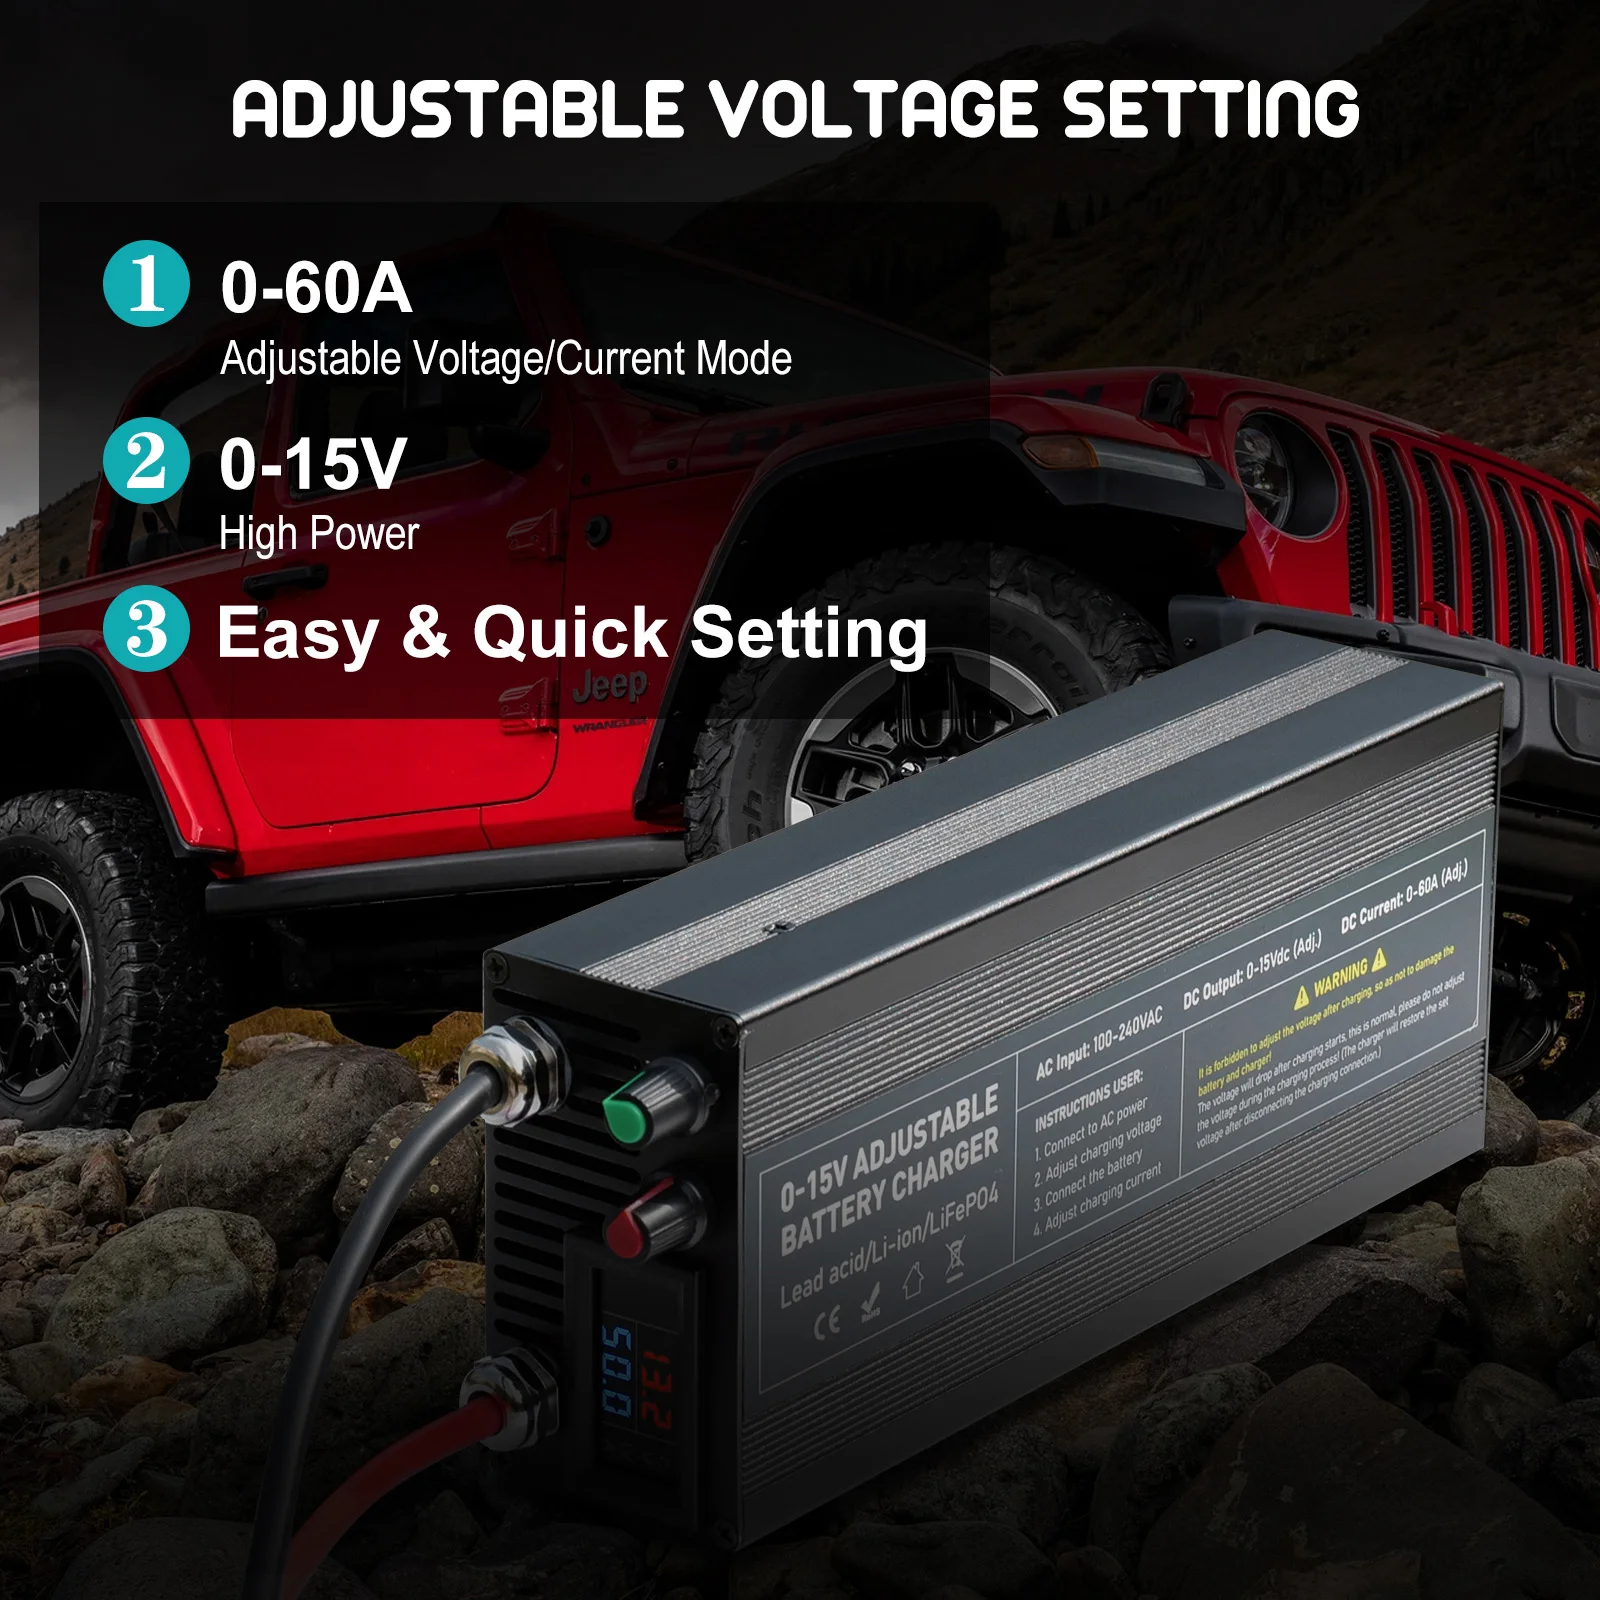
- Output current :: 0-60A/85A/100A
- Output voltage:: 0-15V
- Output Interface:: Clip/Anderson
Please read the packaging name and price when purchasing. Same appearance, different products
Notes:
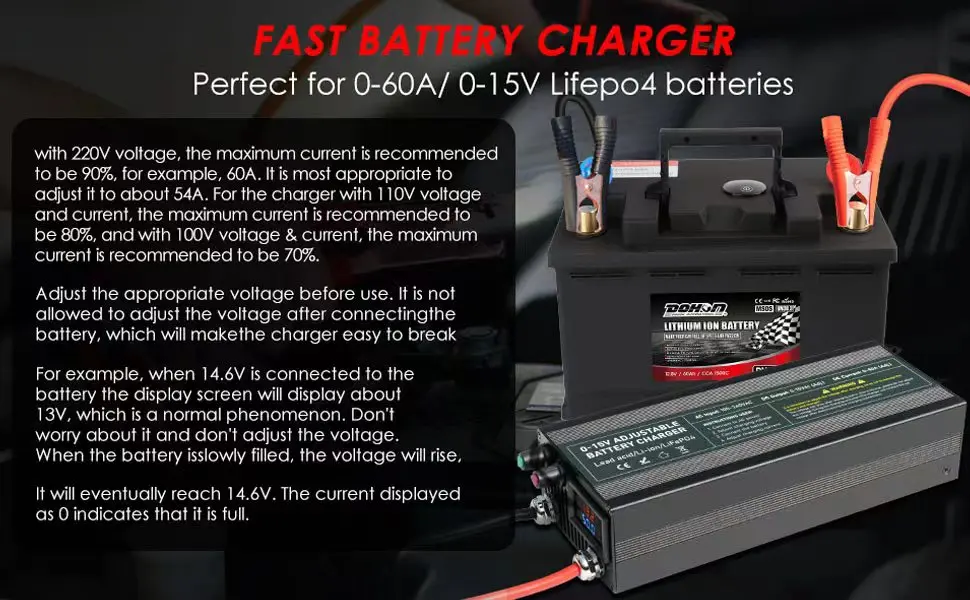
Do not adjust the charger voltage during the charging process. The voltage of the charger itself will fluctuate,
It is normal to charge a battery with a constant voltage. When the battery is fully charged,
The current on the charger display screen will be displayed as zero or close to zero.
As long as the charger is connected to the power supply, the fan will start until the power is disconnected.
Before adjusting the voltage correctly, please do not connect the charger to the battery. The voltage should be adjusted first before connecting the battery. Otherwise, the motherboard will be burnt out
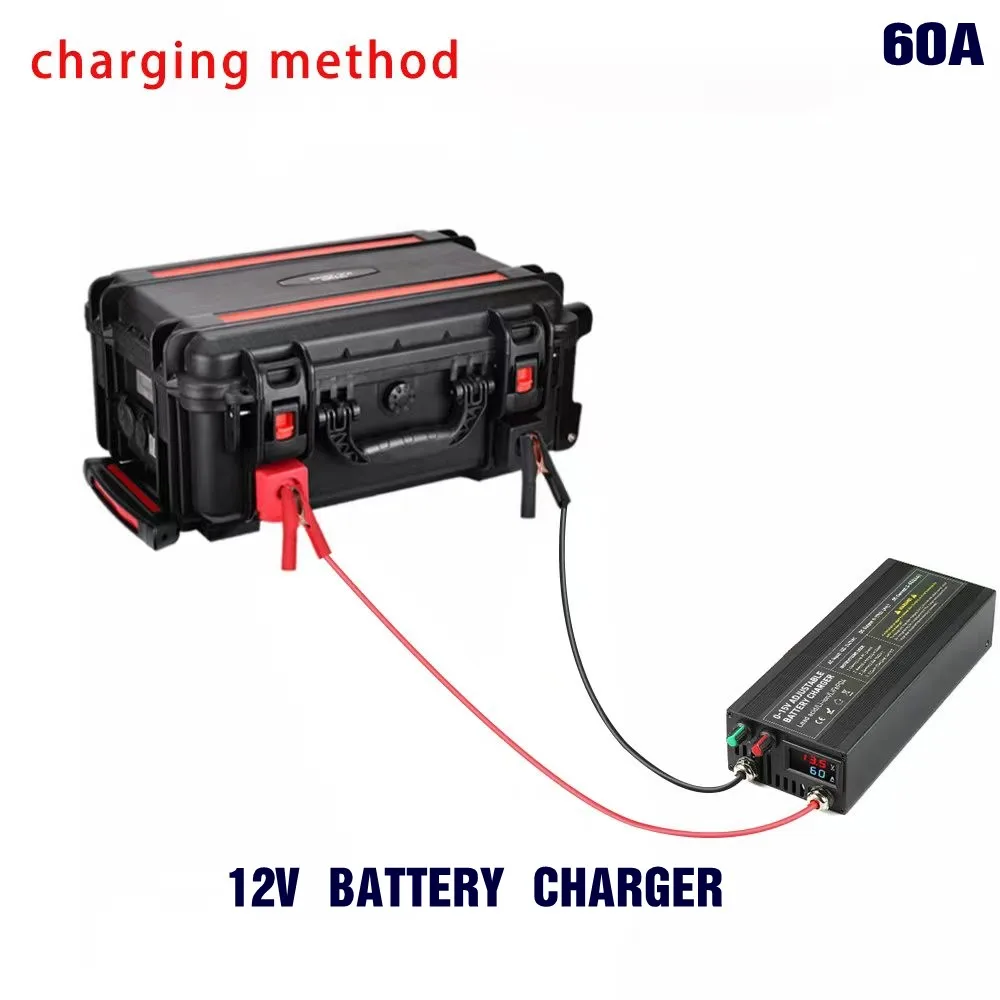
Special instructions for the 60A/85A/100A charger: first plug the charger into the power supply – look at the voltage – adjust the voltage – then connect the load – then adjust the current.
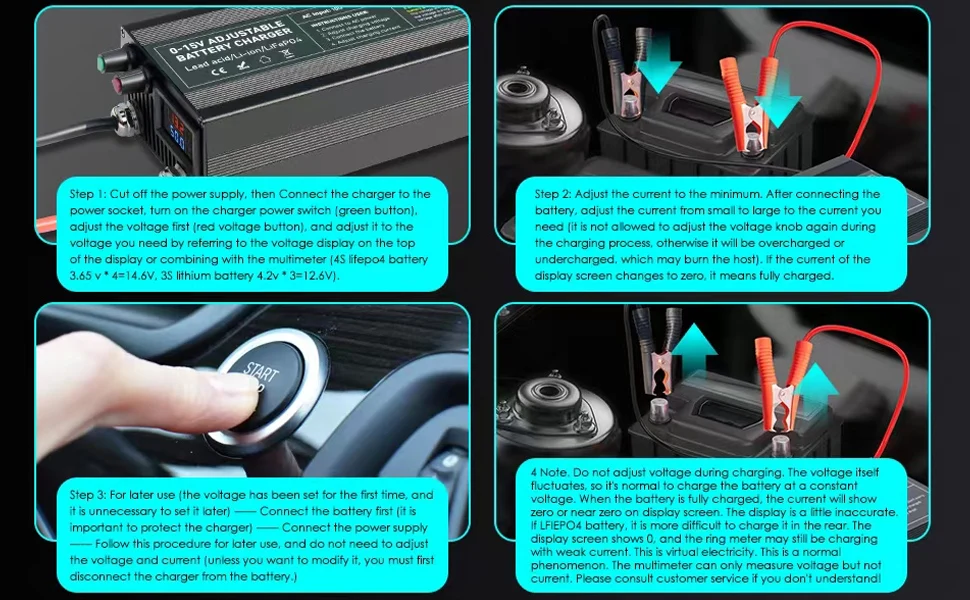
Step 1: Do not connect the battery to the charger, turn on the power, adjust the voltage knob to adjust the voltage, refer to the voltage display at the top of the display screen, (4S lifepo4 battery 3.65 v * 4=14.6V, 3S lithium battery 4.2v * 3=12.6V), adjust to the voltage you need (you can adjust the voltage with a multimeter. There will be a small error on the display screen).
Step 2: Adjust the current to the minimum value. After connecting the battery, adjust the current from small to large to the desired current. (During the charging process, it is not allowed to adjust the voltage knob again, otherwise overcharging or undercharging may occur, which may burn out the host.) If the voltage is displayed and the current becomes zero, it indicates that it is fully charged.
Step 3: When the voltage has already been set for the first time, there is no need to set it in the future. When using it for the second time, connect the battery first (which is very important as it can protect the charger). Then connect the power supply. Follow this step for future use without adjusting the voltage and current (unless you want to modify it)
Video operation method: https://youtu.be/3QDYR0f2Td8
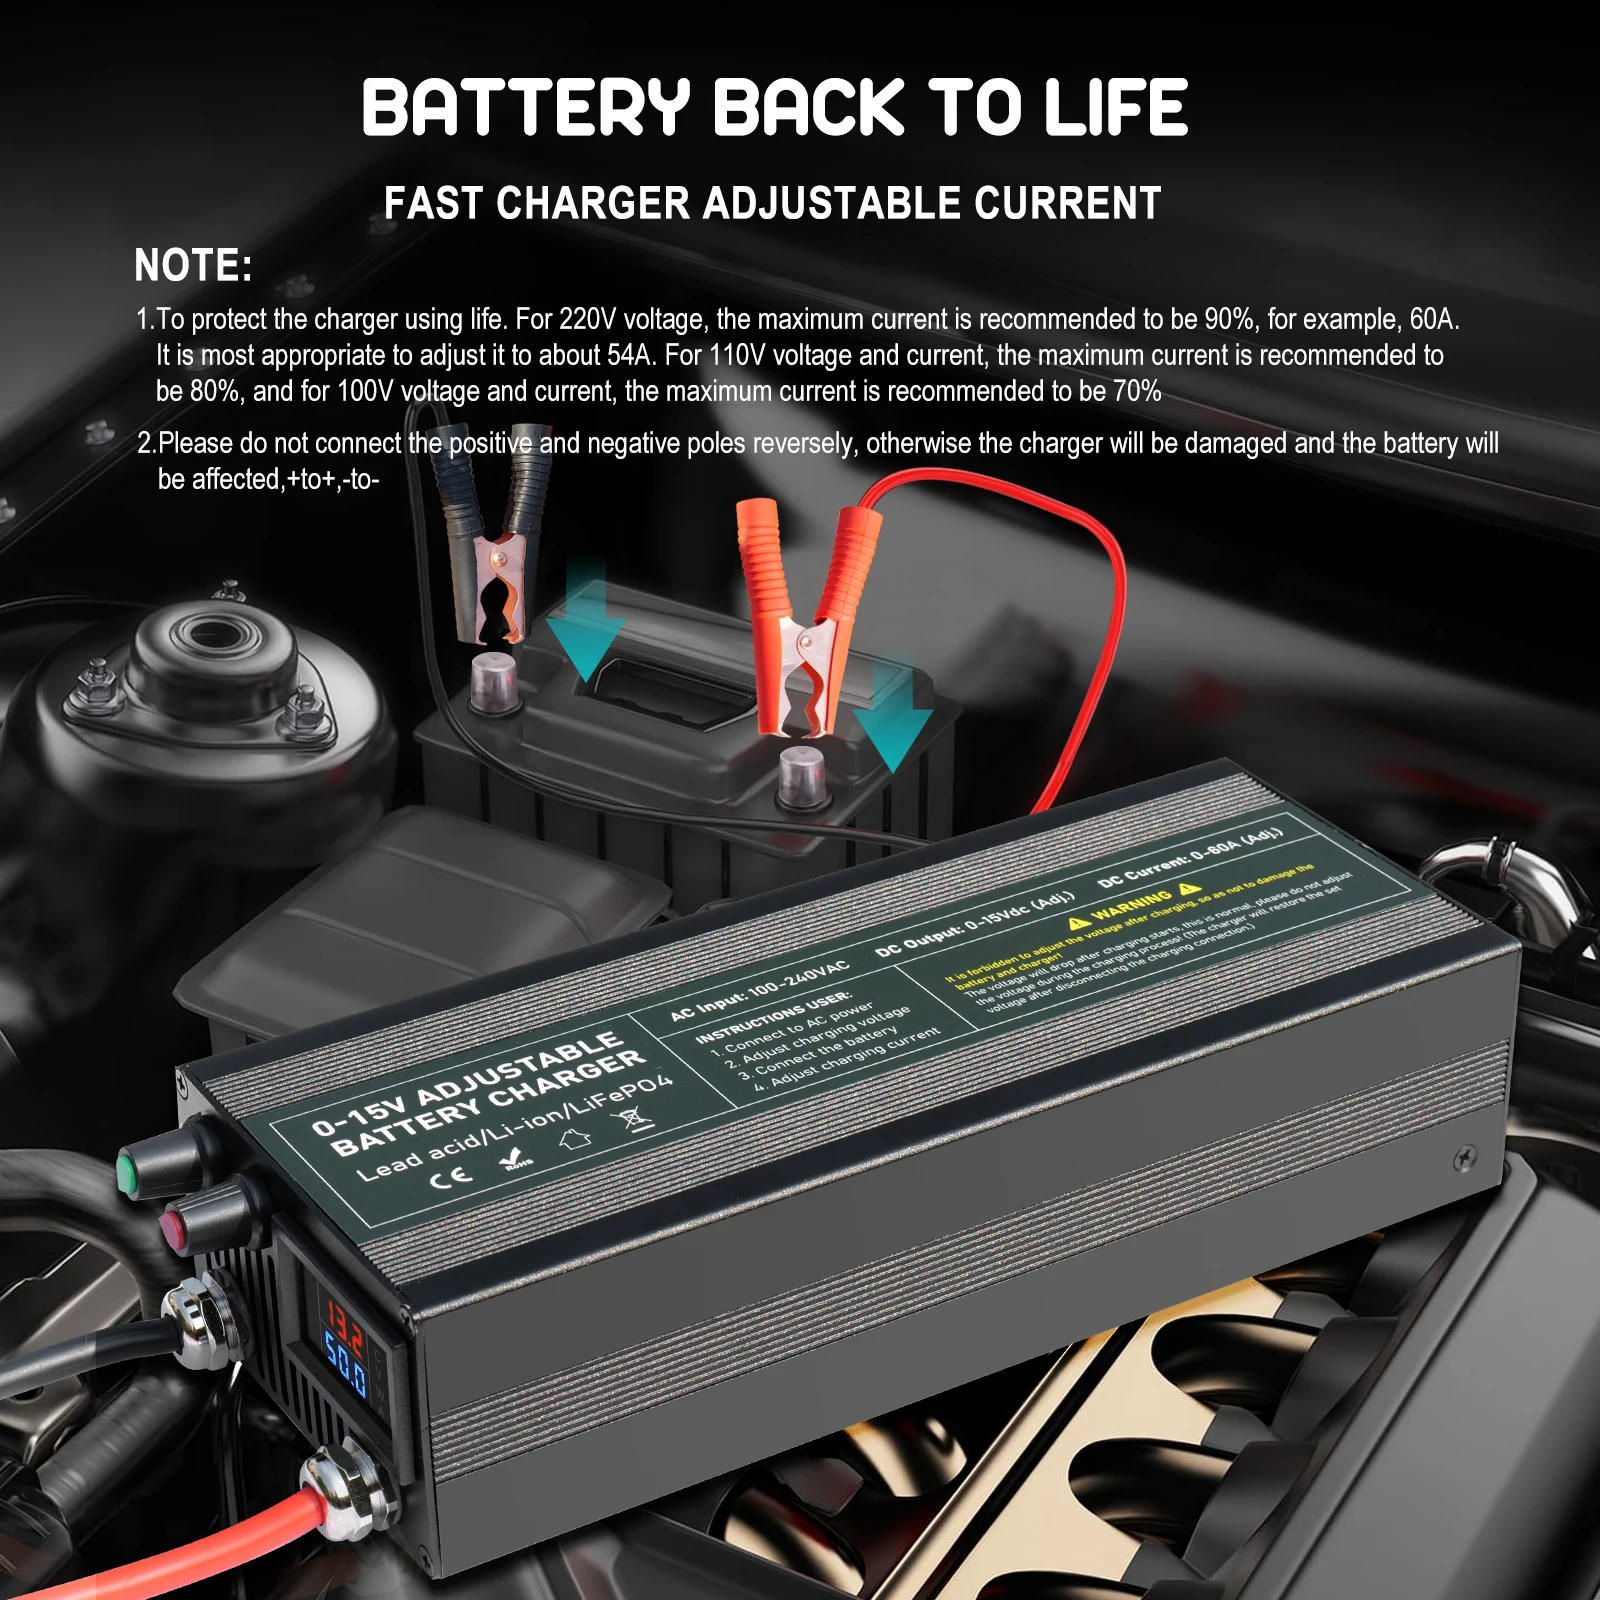
Extend the lifespan of the charger. The voltage of the charger is 220V, and the recommended maximum current is 90%, such as 60A. Adjusting it to approximately 54A is the most suitable. The maximum recommended voltage and current for 110V is 80%, and the maximum recommended current and voltage for 100V is 70%.
How to use the charger: first connect the charger’s power cord to the specified interface of the charger. After the display shows 14.6V or 12.6V, connect to the battery through an alligator clip or Anderson cable. The red clip is connected to the red terminal of the battery. The black clip is connected to the black terminal of the battery. Red is positive. Black is negative.
The following is an introduction to multi loop chargers. More sensitive to voltage. Better operation.





















Reviews
There are no reviews yet.